
I'll try to be brief (especially since, in spite of all that work, I really didn't move forward much).
Feb. 3:
Here is a shot of the use of my Dremel "drill press" putting in the holes for the frame mount screws in the the Rockler bearing (lazy susan mechanism that allows the dome to spin). I remembered to tape off the space that exposes the bearings!

The finished holes! These will be used to secure the bearing to the frame.
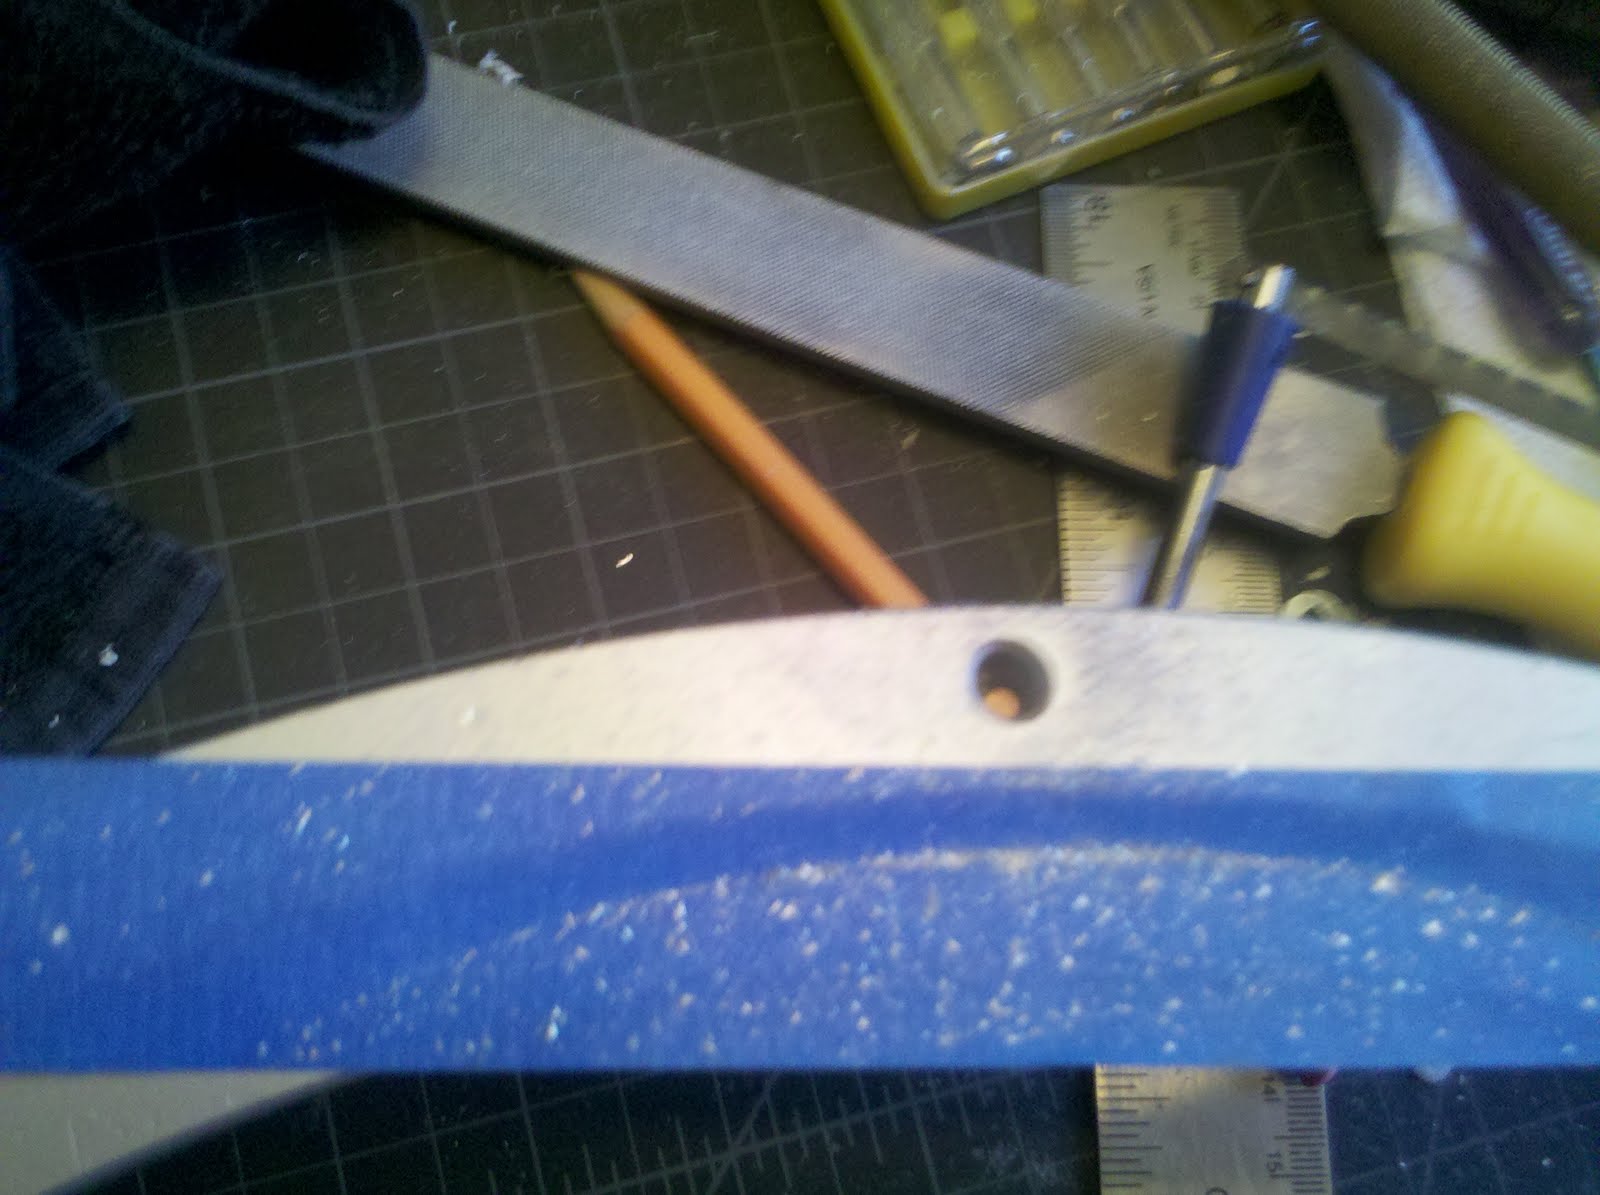
Knowing I wasn't going to get to more drilling today, I started stripping out the silicone that holds the lens into the eye. Again. I think this is the second or third time. Finished, but that was it for the day. I need to figure out what's wrong with this eye!

Feb.4:
I used the Dremel Press to put starter holes in the dome ring (after placing the bearing using pennies -- pictured later). Then used a standard drill to enlarge the holes freehand. This did not work...the drill bit always drifted and the holes ended up misplaced. I ended up taping over the holes and preparing to begin again.

Feb. 5:
Realizing I'd forgotten to depict the pennies method of centering the Rockler bearing in the dome ring, here is a shot. This is my improved method, with pennies taped together, as most of my droid-building-time during the previous two days felt like I was catching pennies as they tried to roll away!

Marking the ring for drilling using existing Rockler holes. Done each time.

No more photos, because the exact same thing happened as the day before: when it came time for drilling the bit somehow slipped again and the holes did not line up. I also somehow lost some hardware while testing the lining-up. Done for the day again!
Feb. 6:
I decided to start the day by finishing up a bit on the holoprojector servo assembly I hadn't completed yet. I drilled a hole in the screw-on base through which I'd pass a long machine screw.

Here it is all assembled. The slots in the popsicle sticks slide back and forth around that long screw, which will articulate the holoprojector if all goes well!

I felt good finishing that off, so back for a third run at the dome ring drilling project we go! Again with the pennies, marking, pre-drilling, this time counter-sinking, then hand-drilling (with a new super-heavy-duty bit).

I guess I don't need to tell you it failed again: the holes did not match up! What was I doing wrong?? Well, when in doubt, I turn to Victor's writings. I found there that he actually left the Rockler on the ring while drilling. He also always uses a real drill press. Okay then! I'd put off buying a drill press because, dang if those things aren't huge, and I think I mentioned I'm doing this in my apartment dining room! But if that's what my droid needs, well that's what my droid gets!
So first I did the pennies trick, and taped up that Rockler bearing really well so it wouldn't wriggle.

Then, it was off to the hardware store to get the hardware that had vanished during the past few days, and a drill press. Wow were we lucky! They were out of the cheap model, so they sold us the fancy one for the same price!! We saved about 80 bucks!
Of course assembly is required:

And...we'll finish tomorrow (the motor part alone weighs maybe 70 pounds, so this part requires hubby help). And hopefully finish the ring drilling! Whew!


As you have found out the Dremel "drill press" is only ok to a point. Also make sure you are using a center punch. I did not notice if you were using one from your blog. It will keep the bit from wondering even on a full drill press.
ReplyDeleteHi Samurai,
ReplyDeleteYes, I usually use a center punch, then drill a small hole, and finally move to the desired size! I'm used to wood, though; this is the first time I've worked with metal.
Thanks for the comment!